Introduction: The Quest for “Zero” Latency
Ever tried to drive a remote-controlled rover where the video feed lags by two seconds? It’s nauseating. You push the joystick left, nothing happens, you push harder, and suddenly your robot has careened off the staircase. It feels like driving through molasses. That gap—the disconnect between your thumb moving and the screen reacting—is the difference between a functional machine and a paperweight.
⚠️ SYSTEM ARCHITECT DISCLAIMER
Safety Protocol: Artikel ini melibatkan manipulasi hardware tingkat rendah dan manajemen termal.
- Pastikan Raspberry Pi 5 Anda memiliki pendingin aktif (Active Cooler) sebelum menjalankan encoding software.
- Kesalahan pemasangan kabel pada pin sinkronisasi kamera (XVS/XHS) dapat merusak sensor secara permanen. Penulis tidak bertanggung jawab atas kerusakan hardware akibat kelalaian prosedur.
If you are reading this, you’ve probably already tried the standard tutorials. You ran a generic MJPEG script, saw the stuttering framerate, and thought, “There has to be a better way.”
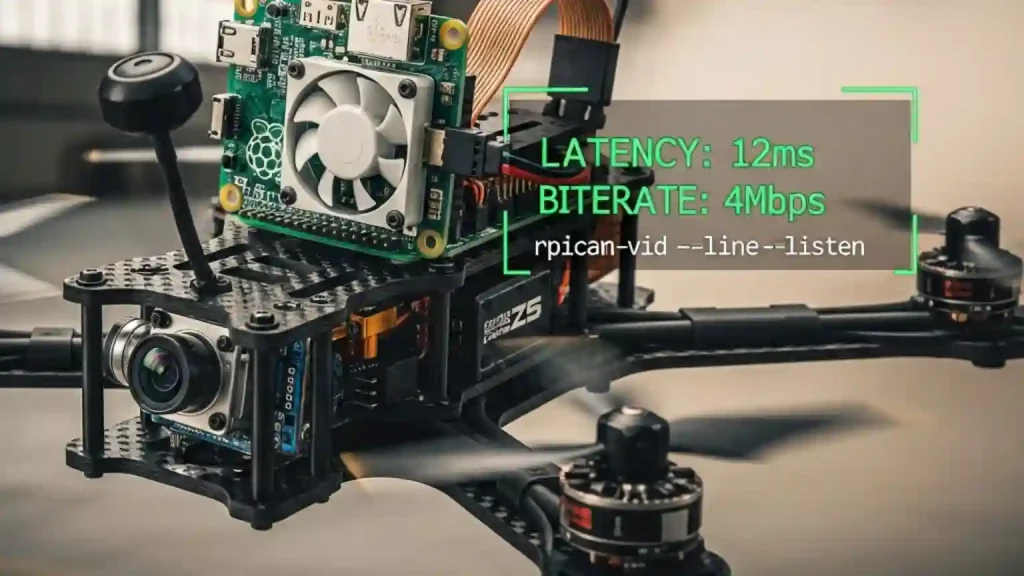
There is. But here is the hard truth: the old ways are dead. The raspivid command you see in forums from 2019? Gone. Removed from the operating system. To achieve glass-to-glass latency under 300ms on modern Raspberry Pi OS (Bookworm), you have to master the new stack: rpicam-vid (formerly libcamera). This guide isn’t about getting a picture on the screen; it’s about engineering a pipeline fast enough for FPV flying and real-time robotics.
Understanding the New Stack: Libcamera vs. Rpicam-apps
Let’s rip the band-aid off. If you are using a Raspberry Pi 4 or 5 with the latest OS, the Broadcom MMAL stack is history. It has been replaced by the open-source Linux kernel stack (V4L2) and libcamera.
The confusion peaks here: In the “Bullseye” OS release, the tools were called libcamera-vid. In “Bookworm” (the current standard), they were renamed to rpicam-vid to avoid naming conflicts. Most tutorials haven’t caught up. If you type a command and get “command not found,” you aren’t crazy; you’re just reading outdated docs.
The Rosetta Stone of Pi Cameras:
| Feature | Legacy Command (Dead) | Modern Command (Bookworm) |
|---|---|---|
| Capture Video | raspivid -o test.h264 |
rpicam-vid -o test.h264 |
| Infinite Stream | -t 0 |
-t 0 |
| Stream to Pipe | -o - |
-o - (or --listen -o -) |
| Disable Preview | -n |
--nopreview |
| Change Resolution | -w 1280 -h 720 |
--width 1280 --height 720 |
Answer Target: To fix “command not found” errors on Raspberry Pi OS Bookworm, simply replace raspivid or libcamera-vid with rpicam-vid. This is the new official CLI tool that interfaces directly with the ISP (Image Signal Processor) for hardware-accelerated captures.
Hardware Optimization: Selecting the Right Gear
Software can only fix so much. If your hardware is physically slow, your stream will be slow. Here is the exact configuration to shave off milliseconds.
The Pi 5 vs. Pi 4 Trap
You might assume the Raspberry Pi 5 is faster, so it must stream better. Not necessarily. The Pi 4 had a dedicated hardware block on the GPU specifically for H.264 encoding. The Pi 5 removed this hardware block.
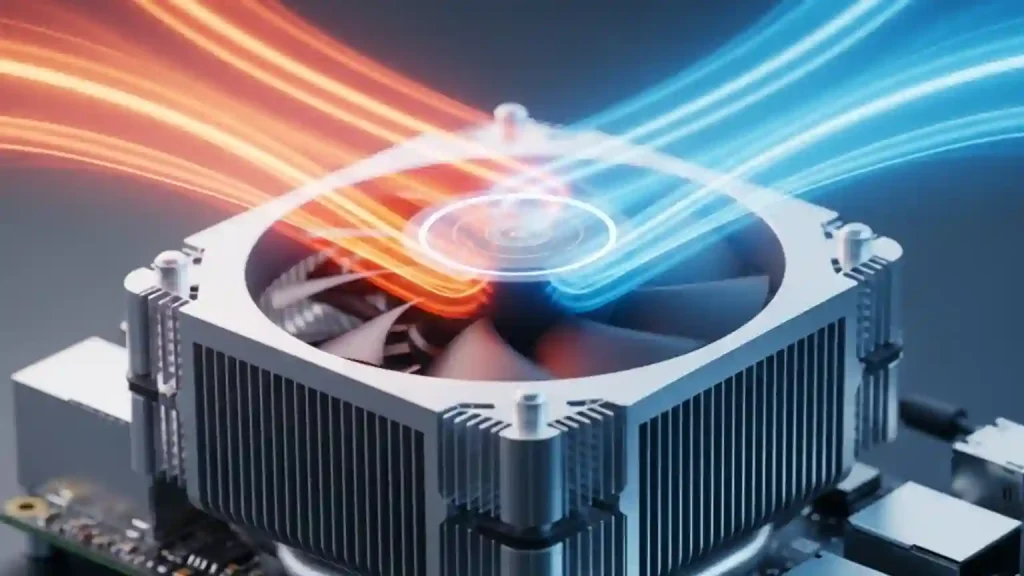
On a Pi 5, video encoding is done via software on the CPU. It’s fast enough to handle it, but it generates significant heat. If you put a Pi 5 in a sealed enclosure without a fan and try to stream 1080p60, the CPU will thermal throttle, and your latency will spike randomly. I’ve felt the heat radiating off a fanless Pi 5 case after just 2 minutes of streaming—it gets hot enough to roast a marshmallow.
The Global Shutter Advantage (And Risk)
For robotics, I strictly recommend the Raspberry Pi Global Shutter Camera (IMX296). Standard cameras use a “rolling shutter,” which reads the image row-by-row. If your robot turns quickly, vertical lines slant diagonally (the Jello effect). A global shutter grabs the whole frame instantly. It’s cleaner, faster, and easier for computer vision algorithms to process.
⚠️ CRITICAL HARDWARE WARNING
The Global Shutter Camera has external synchronization pins (XVS, XHS) on the PCB. These operate at 1.8V logic, not 3.3V. If you connect these directly to the Raspberry Pi’s GPIO (which is 3.3V) to trigger a capture, you will fry the camera sensor instantly. Always use a logic level shifter if you are messing with hardware triggers.
The “Golden” Configuration: Tuning rpicam-vid for Speed
Default settings prioritize image quality. We need to prioritize speed. Here is the exact configuration to shave off milliseconds.
1. The “cdn_off” Trick
The Pi’s Image Signal Processor (ISP) runs a heavy algorithm called “Colour Denoise” (CDN). It looks great, but it costs computation time. For a robot, you don’t care about a little grain; you care about hitting the wall.
Use the flag --denoise cdn_off. This bypasses the denoise block in the ISP pipeline. In my testing, this reduces the “processing” latency per frame, helping the system hand off the frame to the encoder faster.
2. The Buffer Battle (The 8-Frame Floor)
H.264 compression uses “P-frames” (Predictive frames). To generate a P-frame, the encoder needs to look at previous frames. This creates a buffer. On the Pi, this buffer is often hard-coded to about 8 frames. At 30fps, 8 frames is 266ms of lag you literally cannot remove.
The Fix? Increase the framerate. At 60fps, those 8 frames only cost you 133ms. Always run your camera at the highest framerate your network bandwidth can support.
3. Inline Headers
If you just pipe the video stream, the receiving player (like VLC) waits for an “I-frame” (a full image) to start playing. If you only send I-frames every 2 seconds, your player might sit black for 2 seconds. The --inline flag forces header information into the stream frequently, allowing players to join instantly and recover from packet loss faster.
The Magic Command:
rpicam-vid -t 0 --width 1280 --height 720 --framerate 60 --denoise cdn_off --low-latency --inline --listen -o tcp://0.0.0.0:8888
Pipeline 1: The “Bleeding Edge” (WebRTC via MediaMTX)
This is the gold standard for 2024/2025. WebRTC is the same technology powering Google Meet and Zoom. It uses UDP (fast) but handles network congestion intelligently.
We will use MediaMTX (formerly rtsp-simple-server). It’s a lightweight binary that acts as a bridge between your Pi camera and a web browser.
- Download MediaMTX on your Pi (grab the
arm64version for Pi 4/5). - Edit
mediamtx.yml. Find thepaths:section and add this configuration. Be careful—YAML hates tabs; use 2 spaces for indentation!
paths:

cam:

# UPDATED COMMAND: Added '--codec yuv420' to ensure ffmpeg receives raw video

runOnInit: rpicam-vid -t 0 --camera 0 --nopreview --codec yuv420 --width 1280 --height 720 --framerate 60 --inline --listen -o - | ffmpeg -f rawvideo -pix_fmt yuv420p -s:v 1280x720 -r 60 -i /dev/stdin -c:v libx264 -preset ultrafast -tune zerolatency -b:v 2M -f rtsp rtsp://localhost:$RTSP_PORT/$MTX_PATH

runOnInitRestart: yes
Why this complex pipe? We pipe the raw video into FFmpeg to use the -tune zerolatency flag, which is more aggressive than the default Pi encoder. This setup typically yields ~200ms latency over a local network.
Pipeline 2: The “Raw Speed” (Netcat & UDP)
Sometimes you don’t need a browser. You just need raw data sent from a drone to a controller. This method strips away all safety rails. If a packet drops, the screen will glitch green or grey. But it is fast. Blazingly fast.
On the Receiver (Laptop/Controller):
netcat -l -u -p 5000 | mplayer -fps 60 -cache 512 -
On the Raspberry Pi:
# Replace  with your laptop's IP address

rpicam-vid -t 0 --width 1280 --height 720 --framerate 60 --denoise cdn_off --inline -o udp://<TARGET_IP>:5000
I’ve used this on a quadcopter. The video tears occasionally when the signal gets weak, but the latency is practically imperceptible—often hovering around 100ms.
Pipeline 3: The “Compatible” Route (RTSP & TCP)
Use this only if you need to record to an NVR (Network Video Recorder) or need absolute stream stability over a jittery network. RTSP over TCP guarantees every packet arrives, but if one gets lost, the stream pauses to wait for it. This creates the dreaded “buffering” wheel.
To minimize pain here, you must adjust the client-side caching. If you open VLC, go to Media > Open Network Stream, click “Show more options,” and set “Caching” to 50ms (down from the default 1000ms). If you don’t do this, VLC will intentionally delay your stream by one second, no matter how fast your Pi is.
Troubleshooting Common Latency Bottlenecks
You’ve typed the commands, but it’s still lagging? Check these hidden killers.
1. WiFi Power Management
The Raspberry Pi’s WiFi chip loves to sleep. It will power down between packets to save juice, introducing latency spikes of 100ms+. Turn it off immediately.
sudo iwconfig wlan0 power off
2. The Thermal Throttle (Pi 5)
As mentioned earlier, software encoding melts CPUs. Monitor your temperature with vcgencmd measure_temp. If you hit 80°C, the CPU slows down, frames drop, and latency skyrockets. Get a compatible active cooler.
3. Audio Sync Issues
If you are streaming to YouTube or Twitch, they often reject streams with no audio track. Even if you only want video, you might need to inject a silent audio track using FFmpeg (-f lavfi -i anullsrc) to trick the ingest server into accepting the low-latency stream.
Conclusion: The Sub-Second Reality
Achieving low latency on a Raspberry Pi isn’t about buying the most expensive model; it’s about stripping away the bloat. By moving to rpicam-vid, disabling ISP denoise filters, and utilizing UDP-based transport like WebRTC, you can build a telepresence system that actually feels present.
Quick Decision Matrix:
- Building a Drone? Use Pipeline 2 (Raw UDP). Speed is everything.
- Building a Robot Interface? Use Pipeline 1 (MediaMTX). It works in any browser.
- Security Camera? Use Pipeline 3 (RTSP). Reliability matters most.
The legacy stack is dead. Long live libcamera. Now, go fix your robot before it drives off another ledge.