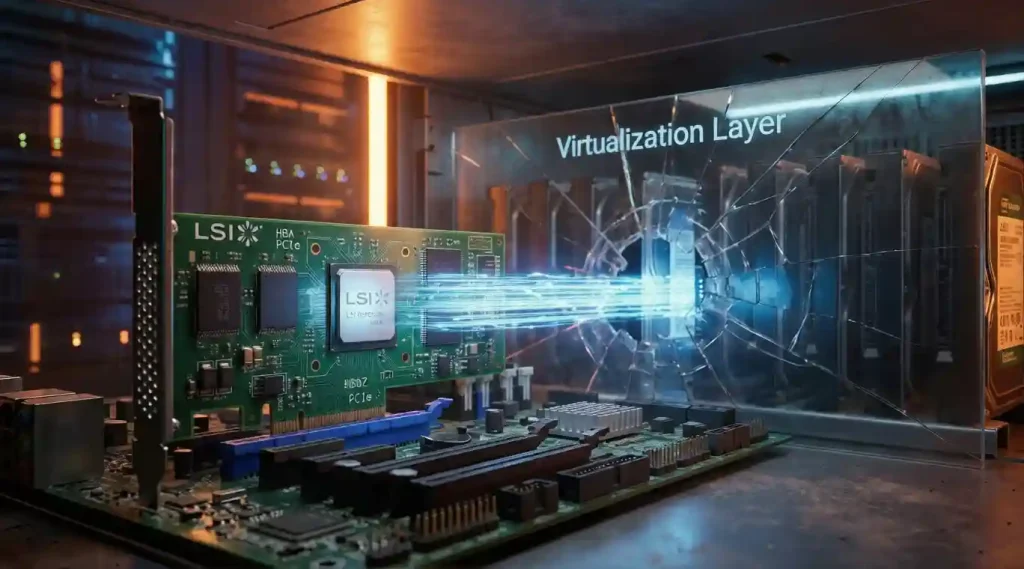
The Homelab Paradox: Powerful Hardware, Fragile Data
Here is the thing about home servers: we spend thousands on enterprise-grade hardware—Xeon processors, ECC RAM, ZFS pools—yet we treat our backup strategy like a college project. You might have RAIDZ2 locally, but if your house floods or a power surge fries your rack, that local redundancy is just expensive e-waste.
The industry knows this. Gartner forecasts worldwide public cloud spending to hit $723 billion in 2025, driven largely by the shift to hybrid infrastructure.
But for the Proxmox user, bridging the gap between a local hypervisor and the cloud is surprisingly painful. Google Drive is the obvious target—cheap, ubiquitous, and likely already part of your subscription. But if you have tried to set this up recently, you probably hit a wall. Maybe it was the “Out-of-Band” (OOB) authentication error, or maybe your script ran successfully but uploaded precisely zero bytes.
I’ve been there. The sinking feeling when you check your backup folder and see it’s empty is visceral—like reaching for your wallet and finding only pocket lint. And you aren’t alone; 58% of data backups fail due to configuration errors or outdated tech.
In this guide, we are going to fix it. We will bypass the broken browser authentication using Service Accounts, fix the deprecated Proxmox script variables that silence most backups, and build a system that screams at you if it fails.
- The “Wipe” Risk: This script performs automated deletion. NEVER point the Rclone remote to the root of your Google Drive. Always target a specific subfolder (e.g.,
gdrive:/Backups). Misconfiguration here could wipe your entire cloud drive. - Security Hygiene: The Service Account JSON key provides full access to the connected data. Store it in
/root/withchmod 600permissions. - Bandwidth & API Limits: Uploading large VM dumps daily consumes significant bandwidth. Ensure your ISP plan handles this. Excessive API calls may trigger temporary Google bans.
- No Liability: This guide is provided “as is”. The author is not responsible for data loss, cloud provider bans, or billing overages. Test with
--dry-runfirst.
Prerequisites: The Service Account Strategy
What is a Service Account? Simply put, it’s a robot identity. Unlike your personal Gmail account, it doesn’t need a browser to log in, and its tokens don’t expire every hour.
Most tutorials tell you to run rclone config and authenticate via a browser. On a headless Proxmox server, this used to work via a copy-paste code (OOB). Google killed this in October 2022. If you try it now, you get a 400 Error. To survive in 2025, you must use a Service Account.
Step 1: Create the Digital Robot
- Go to the Google Cloud Console and create a new project (e.g., “Proxmox-Backup”).
- Navigate to APIs & Services > Library and enable the Google Drive API.
- Go to IAM & Admin > Service Accounts and click Create Service Account. Give it a name like “rclone-bot”.
- Once created, click on the account, go to the Keys tab, and click Add Key > Create New Key > JSON.
- A
.jsonfile will download to your computer. Guard this file with your life. It is the master key to your backups.
Crucial Step: The Service Account has its own Google Drive, which is separate from yours. To see the backups in your Drive, you must create a folder (e.g., “Proxmox-Backups”) in your personal Drive and Share it with the Service Account’s email address (e.g., [email protected]) as an Editor.

Installing & Configuring Rclone (The Right Way)
Do not use apt install rclone. The Debian repositories are often years behind. We need the latest version to handle modern encryption and API changes.
curl https://rclone.org/install.sh | sudo bashNow, upload that JSON key file you downloaded earlier to your Proxmox server. I recommend placing it in /root/ for safety.
# Assuming you SCP'd the file to your server
mv /path/to/uploaded-key.json /root/proxmox-sa.json
chmod 600 /root/proxmox-sa.json
Configuring the Remote
Run rclone config and follow this specific flow. We aren’t just setting up a connection; we are setting up an encrypted pipeline.
| Prompt | Your Action | Why? |
|---|---|---|
| Name | gdrive |
Base connection name. |
| Storage Type | drive |
Selects Google Drive API. |
| Client ID/Secret | (Leave Empty) | We are using the Service Account instead. |
| Scope | drive |
Full access is required to delete old backups. |
| Service Account File | /root/proxmox-sa.json |
The Magic Step. Bypasses OOB auth. |
| Use Team Drive? | no |
Unless you are actually using a Workspace Shared Drive. |
The “Vault”: Client-Side Encryption
Uploading unencrypted VM dumps to Google is a privacy nightmare. If your account is compromised, the attacker has your entire infrastructure. We will wrap our gdrive remote in a Crypt layer.
Run rclone config again, create a new remote, and name it google-crypt.
- Type:
crypt - Remote:
gdrive:/Proxmox-Backups(This points to the folder we shared earlier). - Filename Encryption:
standard(Obfuscates names sofirewall.conflooks likekjsd837s...). - Password: Generate a strong one and save it in your password manager.
Now, test it. If you see the directory (even if empty) without errors, you have won half the battle.
rclone lsd google-crypt:The Automation Logic: Scripting the VZDump Hook
This is where 90% of current tutorials fail. They use scripts written for Proxmox VE 6.x that rely on the $TARFILE environment variable. In newer Proxmox versions, this variable was renamed to $TARGET. If your script relies on $TARFILE, it will run, finish, and upload nothing.
We are also adding Healthchecks.io monitoring. Because “silence” is not “success.”
The “Alpha” Hook Script
Create the file at /usr/local/bin/vzdump-rclone.sh and make it executable (chmod +x).
#!/bin/bash

# Modern Proxmox VZDump Hook Script
# Features: Service Account Support, Target Variable Fix, Healthchecks.io

# CONFIGURATION
RCLONE_REMOTE="google-crypt"
MAX_DAYS=7
HC_UUID="your-healthchecks-uuid" # Optional: Get from healthchecks.io

# PHASE 1: JOB START
if [ "$1" == "job-start" ]; then
    # Ping Healthchecks "Start"
    curl -fsS -m 10 --retry 5 -o /dev/null "https://hc-ping.com/$HC_UUID/start"
    echo " Starting backup job..."
fi

# PHASE 2: BACKUP END (The Critical Part)
if [ "$1" == "backup-end" ]; then

    # COMPATIBILITY FIX: Handle TARFILE vs TARGET deprecation
    # If TARGET is set, use it. If not, fall back to TARFILE.
    BACKUP_FILE=${TARGET:-$TARFILE}

    if [ -z "$BACKUP_FILE" ]; then
        echo " Error: No archive file found. Variable mismatch."
        curl -fsS -m 10 --retry 5 -o /dev/null "https://hc-ping.com/$HC_UUID/fail"
        exit 1
    fi

    echo " Uploading $BACKUP_FILE to $RCLONE_REMOTE..."

    # Use 'copy' not 'move' to ensure local retention handles the deletion
    rclone copy "$BACKUP_FILE" "$RCLONE_REMOTE:/" \
        --transfers=4 \
        --checkers=8 \
        --stats=60s

    if [ $? -eq 0 ]; then
        echo " Upload successful."
    else
        echo " Upload FAILED."
        curl -fsS -m 10 --retry 5 -o /dev/null "https://hc-ping.com/$HC_UUID/fail"
        exit 1
    fi

    # Pruning Old Cloud Files
    echo " Pruning files older than $MAX_DAYS days..."
    rclone delete "$RCLONE_REMOTE:/" --min-age ${MAX_DAYS}d --rmdirs

fi

# PHASE 3: JOB END
if [ "$1" == "job-end" ]; then
    curl -fsS -m 10 --retry 5 -o /dev/null "https://hc-ping.com/$HC_UUID"
    echo " Job finished."
fi
To activate this, edit /etc/vzdump.conf and add this line:
script: /usr/local/bin/vzdump-rclone.shRestoration: The “Mount” vs. “Copy” Debate
When disaster strikes, panic sets in. You might be tempted to just “mount” the Google Drive and restore directly from it. Don’t do this. Google Drive API latency can cause timeouts during large sequential reads, leading to corrupt restores.
Here is the professional workflow for getting your data back:
Scenario A: Total Node Failure (Disaster Recovery)
You have rebuilt the server and need everything back.
- Install Rclone and restore your
rclone.confand JSON key (you kept those safe, right?). - Download First: Use
rclone copyto pull the specific backup file to your local SSD.rclone copy google-crypt:/vzdump-qemu-100-2025...vma.zst /var/lib/vz/dump/ - Restore Locally: Use the Proxmox GUI to restore from the local storage. This ensures the restore process is fast and stable.
Scenario B: Single File Recovery (Surgical Strike)
You accidentally deleted a database config file inside a VM. You don’t want to roll back the whole server.
- Mount the Drive: This is the only time you use mount.
mkdir -p /mnt/gdrive rclone mount google-crypt:/ /mnt/gdrive --daemon - Extract: Use Proxmox’s “File Restore” feature (if using PBS) or simply browse the mounted folder, verify the file exists, and copy the backup archive to a temp location to extract the specific file you need.
Conclusion
We have moved from a fragile, manual process to a resilient, automated system. By using a Service Account, we eliminated the authentication timeouts that plague standard setups. By fixing the $TARGET variable logic, we ensured our scripts actually see the files Proxmox creates.
One final check: Run a manual backup right now. Watch the logs (tail -f /var/log/pve/tasks/active). Listen for the hum of the drives and wait for that “Upload successful” message. That is the sound of sleeping well at night.
Got a different cloud provider you prefer over Google Drive? The logic here works almost identically for Backblaze B2 or AWS S3—just swap the remote config. Let me know in the comments if you want a B2-specific guide next.